
Exploring Advanced Diamond Painting Techniques: Multi-Panel Designs
You've mastered the single canvas, but now you crave dramatic scale and immersive art. The ultimate solution is the Multi-Panel Design—a single, grand image split across multiple canvases that, when hung together, create a massive, flowing statement piece.
Multi-panel sets are a favorite among experienced diamond painting enthusiasts because they demand precision, reward organization, and offer stunning visual impact. We will introduce you to the three types of multi-panel diamond painting sets offered on our website and provide some tips to help you achieve a professional, seamless look at every joint.
I. The Classic Three-Panel Triptych
The Triptych is the most widely recognized and balanced multi-panel design, offering elegance and cohesive visual flow.
What It Looks Like
Our three-panel sets consist of three canvases of equal size (same length and width). This creates a traditional, segmented look where the image is evenly distributed across all three panels.
Best Photos for This Layout
This layout is perfect for photos that create a unified whole with natural breaks:
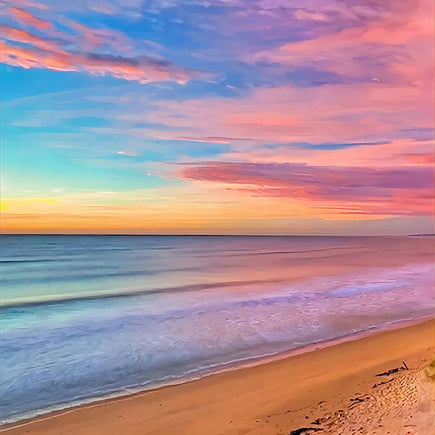
Landscape & Scenery: Wide landscapes (like a serene beach sunset or a continuous forest line) where the scene benefits from three evenly spaced vertical breaks.
Portraits & People: Family portraits or images of couples sitting side-by-side where the breaks subtly frame different subjects.
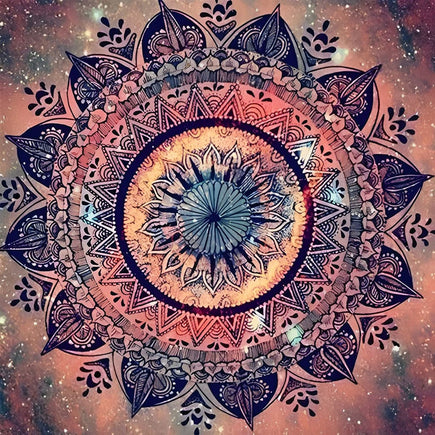
Thematic & Abstract: Lifestyle shots of vibrant street murals, a single detailed architectural study, or a unified abstract pattern.
Finishing & Framing
The uniform size of the three canvases makes alignment straightforward. The greatest challenge is maintaining a consistent visual flow across the seams, but the equal height provides a steady, elegant baseline for your framing.

II. The Dynamic Four-Panel Quadriptych
The four-panel set provides unique design versatility, allowing you to choose between standard symmetry or dynamic rhythm.
What It Looks Like
Our Quadriptychs come in two distinct variations to suit your image:
Style 1: Symmetrical Rhythm (Stepped): This design features a "stepped" arrangement where the two outer panels are shorter and the two inner panels are longer (e.g., 20x40cm, 20x60cm, 20x60cm, 20x40cm).
Style 2: Standard Symmetry (Equal Size): All four canvases are the same length and width, offering a continuous, wide image space.
Best Photos for This Layout
Style 1 (Stepped): Ideal for images with a central focus (like a wedding couple or a close-up of a vintage car) where the outer panels extend the background or provide atmosphere (e.g., blurred light, distant trees).
Style 2 (Equal): Best suited for uninterrupted horizontal views and abstract art, such as vast mountain ranges, an expansive skyline, or an action shot of a sports car in motion.
Finishing & Framing
When installing the stepped-style design, all four panels need to be aligned according to the image shown in the photo to maintain the intended symmetrical rhythm. The gaps between the panels should be consistent to ensure visual fluidity.

III. The Grand Five-Panel Pentaptych
This is our most dramatic multi-panel design, maximizing scale and visual focus with its signature graduated structure.
What It Looks Like
The Pentaptych consists of five panels in a symmetrical, graduated structure, always featuring a dominant central panel flanked by two sets of gradually smaller panels (e.g., short, medium, tall, medium, short).
Best Photos for This Layout
This configuration is designed for maximum visual impact, perfect for images with:
Hero Shots & Focus: Ideal for subjects that demand height, such as a solitary lighthouse, a main character (superhero, celebrity) posing, or the center of an intricate family photo.
Grand Nature Scenes: Excellent for capturing the peak of a mountain or the center of a winding river, with the surrounding panels extending the foothills or banks.
Architectural Art: Perfect for grand architectural facades or buildings where the dominant element sits squarely in the tallest center panel.
Finishing & Framing
Due to the varying sizes, the tallest central panel serves as the key reference point. The panels on the left and right must be hung at corresponding heights based on the image content and symmetrically on both sides to maintain overall coherence.

IV. Framing for Advanced Art
Successfully diamond painting a multi-panel set is only half the battle—the display is what truly elevates the art.
The Recommended Solution: Hanging Scrolls
We strongly recommend the Hanging Frame solution as the ideal, modern, and simple method for displaying multi-panels.
Flexible Operation: When framing with the scroll system, you can choose not to trim the canvas edges, preserving your hard work in its entirety.
Optimal Display Effect: Simply insert the blank edge of the diamond painting into the magnetic scroll frame, and it will hang naturally and smoothly.
Perfect Spacing: The scroll framing system easily achieves the ideal 1 to 3 inch spacing between each artwork, which is crucial for creating a stunning visual impact.
The Lasting Impact of Multi-Panel Art
Multi-panel diamond painting is the ultimate way to challenge yourself and display your artistic vision on a grand scale. By understanding the unique flow of our Three-Panel, Four-Panel, and Five-Panel sets, you can choose the perfect design to transform your most cherished photos into magnificent, sparkling masterpieces.
Ready to start your next magnificent project and ensure a perfect finish? Upgrade your display experience by pairing your canvas with the ultimate Hanging Scroll solution.
FAQs
Q1. Do I need to buy extra diamonds for the multi-panel sets?
A: No. To make it easier for you to complete each canvas independently, each canvas comes with a dedicated diamond kit, which contains all the drills you need.
Q2. Do I have to buy separate frames for each canvas?
A: Yes. Each canvas is a separate piece of art and requires its own frame or hanging mechanism. We recommend using the "with frame" option when ordering our multi-panel prints. This is the simplest solution, as we will select the most suitable magnetic hanging frame based on the colors and other characteristics of your image.
Q3. What is the optimal distance (gap) to leave between the canvases?
A: For the best visual effect, we recommend leaving a small, consistent gap of 1 to 3 inches between each canvas. This space is crucial for allowing the segmented design to flow properly and look like a cohesive art installation.